Ingredients
Crumb Layer:
- 1 ½ cups all-purpose flour (180g)
- 1 ½ tablespoons sugar
- 1 pinch of salt
- 8.5 tablespoons cold butter (120g), grated
Cream Layer:
- ¼ cup + 1 teaspoon sugar (60g)
- 2 egg yolks
- 1 ¼ cups milk (300ml, any fat content)
- 2 tablespoons all-purpose flour
- 2 tablespoons butter (30g)
Instructions
Start by preparing the crumb layer. Combine the flour, sugar, and salt in a bowl, then grate cold butter into the mixture. Use your fingers or a fork to blend everything until it resembles sandy crumbs. Toast the crumbs in a saucepan over low heat, stirring constantly until they turn golden brown. Let them cool completely before assembling the dessert.
Next, make the cream layer. In a saucepan, whisk together sugar and egg yolks until smooth. Add milk and mix well, then sift in the flour to avoid lumps. Cook the mixture over low heat, stirring constantly, until it thickens into a smooth cream. Remove from heat, stir in butter, and let the cream cool to room temperature.
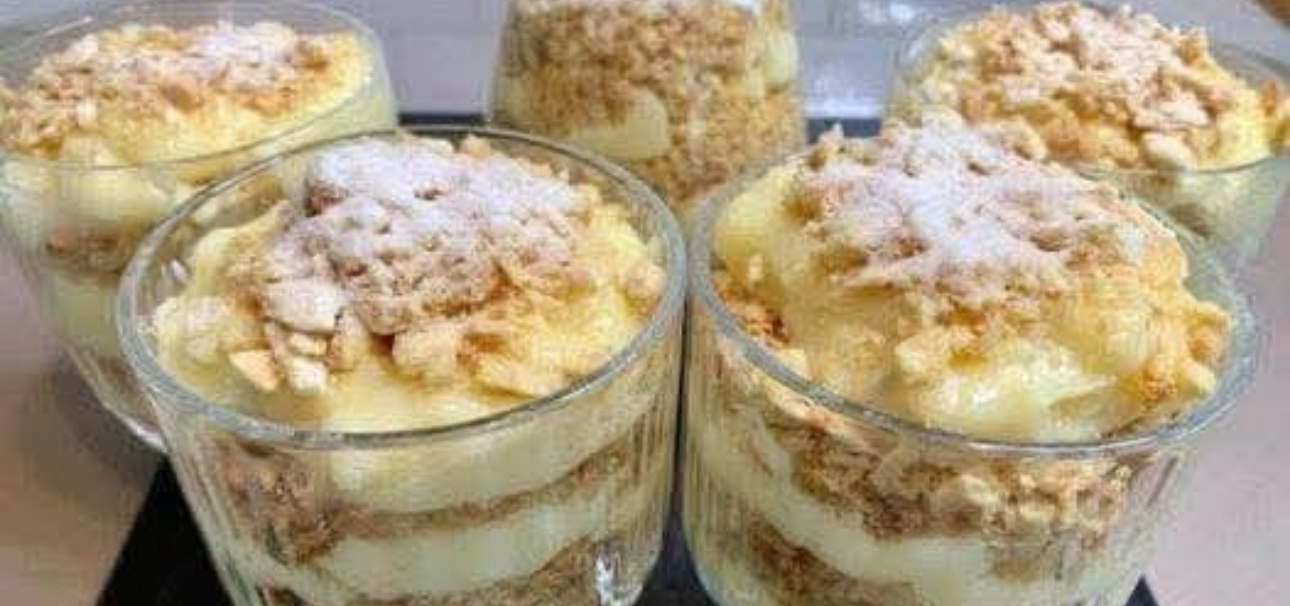
To assemble, layer the toasted crumbs and cream in glasses, starting with crumbs and alternating until the glasses are filled. Refrigerate the dessert for about an hour to set. Before serving, add your favorite toppings, such as fresh fruit, chocolate shavings, or a sprinkle of powdered sugar.
How to Make
The key to making this dessert is toasting the crumbs to perfection. Take your time to cook them over low heat, stirring frequently to ensure even browning. This step adds a wonderful nutty flavor and a satisfying crunch to the dessert. Be careful not to burn the crumbs, as this can affect the overall taste.
For the cream layer, patience is essential. Cook the mixture slowly over low heat, stirring constantly to prevent lumps and ensure a smooth, velvety texture. If the cream thickens too quickly, remove it from the heat and whisk vigorously to achieve the desired consistency. Letting the cream cool before assembling is crucial, as it allows the layers to set properly.
When assembling, aim for even layers of crumbs and cream to create a visually appealing dessert. Use a spoon or piping bag to add the cream for a neater presentation. Refrigerating the dessert before serving helps the layers firm up, making it easier to enjoy every bite.
Variations
This dessert is highly adaptable, allowing you to experiment with different flavors. For a chocolate twist, add cocoa powder to the cream layer or mix melted chocolate into the cream. You can also layer in fruit compote, such as strawberry or mango, for a refreshing contrast to the rich cream.
If you prefer a nutty flavor, substitute part of the flour in the crumb layer with ground almonds or hazelnuts. You can also add a splash of liqueur, such as amaretto or Baileys, to the cream for an adult-friendly version. The possibilities are endless, so feel free to get creative with your favorite ingredients.
For a lighter option, use low-fat milk and reduce the amount of butter in the cream layer. You can also replace the all-purpose flour with gluten-free flour to accommodate dietary restrictions. These variations ensure that everyone can enjoy this delightful dessert, regardless of their preferences or needs.
Tips
To achieve the perfect crumb texture, make sure the butter is cold when grating it into the flour mixture. This helps create a sandy consistency that toasts evenly. If you prefer a finer crumb, pulse the mixture in a food processor instead of using a grater.
When making the cream, sift the flour before adding it to the mixture to prevent lumps. If you do end up with lumps, strain the cream through a fine-mesh sieve before cooling. This ensures a smooth and silky texture that’s essential for the dessert’s appeal.
For a more decorative presentation, use piping bags to layer the cream and crumbs. You can also top the dessert with whipped cream, fresh berries, or edible flowers for an extra touch of elegance. These small details can elevate the dessert and make it even more special.
How to Store
This dessert is best enjoyed fresh but can be stored in the refrigerator for up to two days. Cover the glasses with plastic wrap or lids to prevent the crumbs from absorbing moisture and losing their crunch. If you need to store it longer, keep the crumbs and cream separately and assemble just before serving.
Conclusion
This creamy layered dessert in a glass is a perfect combination of simplicity and sophistication. With its buttery crumbs and smooth cream, it’s a treat that’s sure to delight your taste buds. The ease of preparation and endless customization options make it a go-to recipe for any occasion.
Whether you’re serving it at a party or enjoying it as a personal indulgence, this dessert is guaranteed to impress. Its elegant presentation and delicious flavors will leave everyone asking for more. So, gather your ingredients, follow the steps, and treat yourself to this delightful creation!